Awake Breast Fat Transfer | Raise Your Cup®
Case ID: 6642


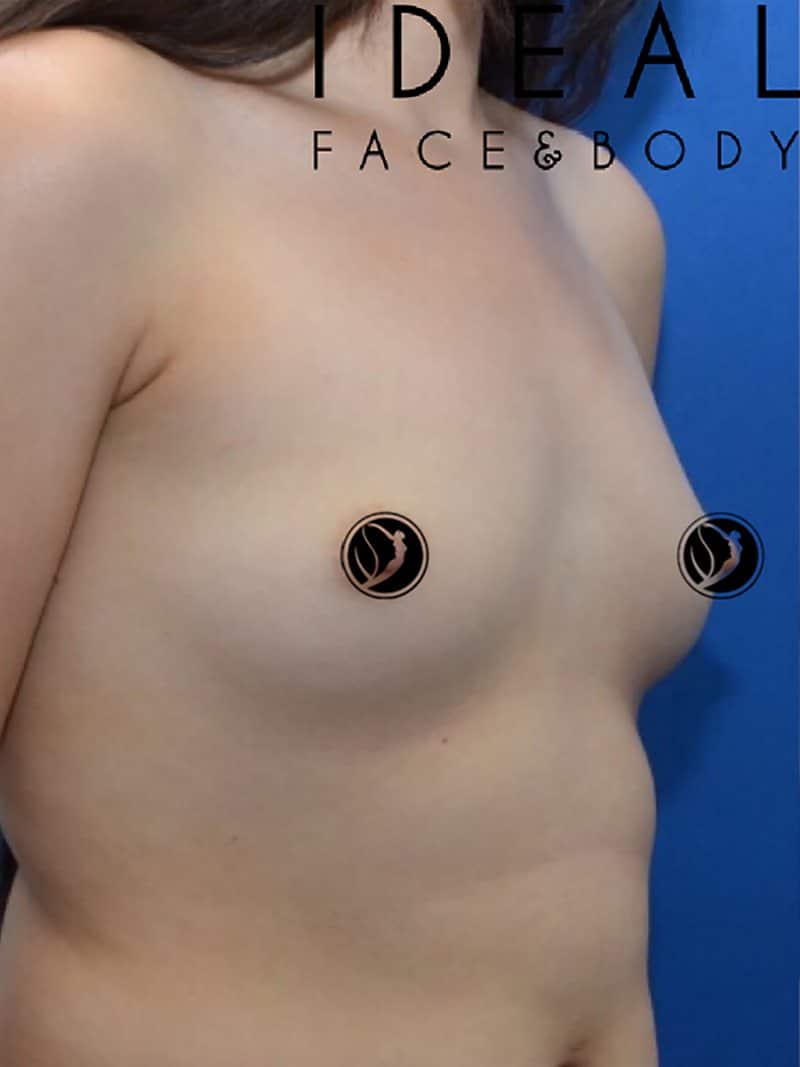
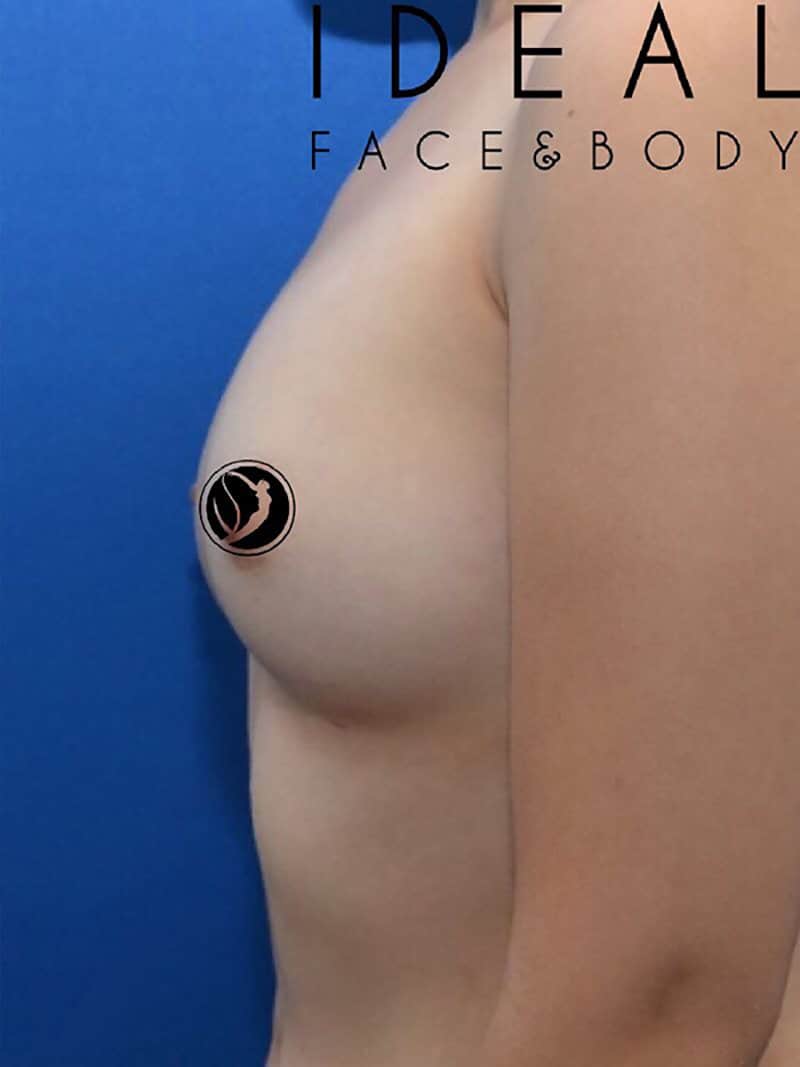
These are before and after photo comparisons of the same female patient who underwent an awake breast fat transfer.
Awake Breast Fat Transfer | Raise Your Cup®Case ID: 6642
These are before and after photo comparisons of the same female patient who underwent an awake breast fat transfer.
Awake Breast Fat Transfer | Raise Your Cup®Case ID: 6640
One cup increase in breast size after undergoing a fat transfer to the breasts.
Awake Breast Fat Transfer | Raise Your Cup®Case ID: 6639
Fat Transfer to the Breasts for a natural breast enhancement and an increase of one cup size.
Awake Breast Fat Transfer | Raise Your Cup®Case ID: 6638
Awake breast fat transfer results in a natural enhancement. No implant required. This patient underwent two sessions of fat transfer to increase her cup size more than one.
Awake Breast Fat Transfer | Raise Your Cup®