Case Details
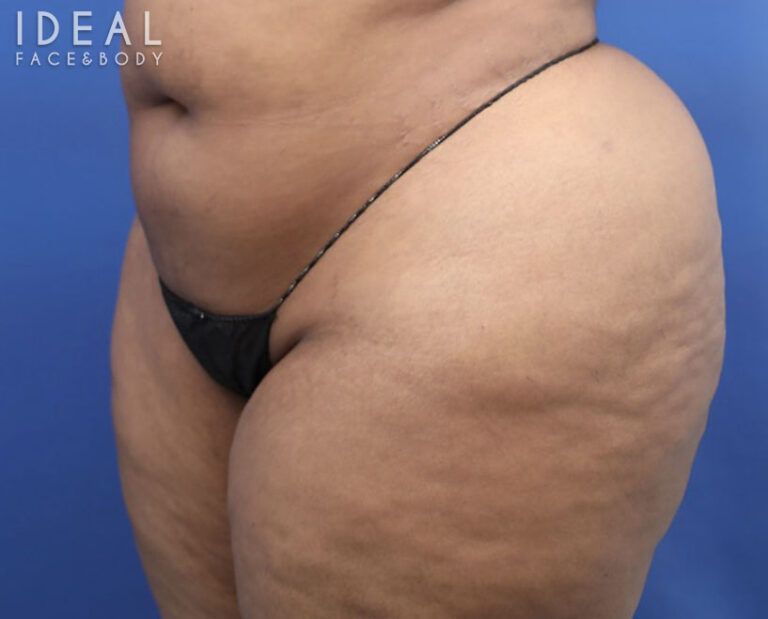
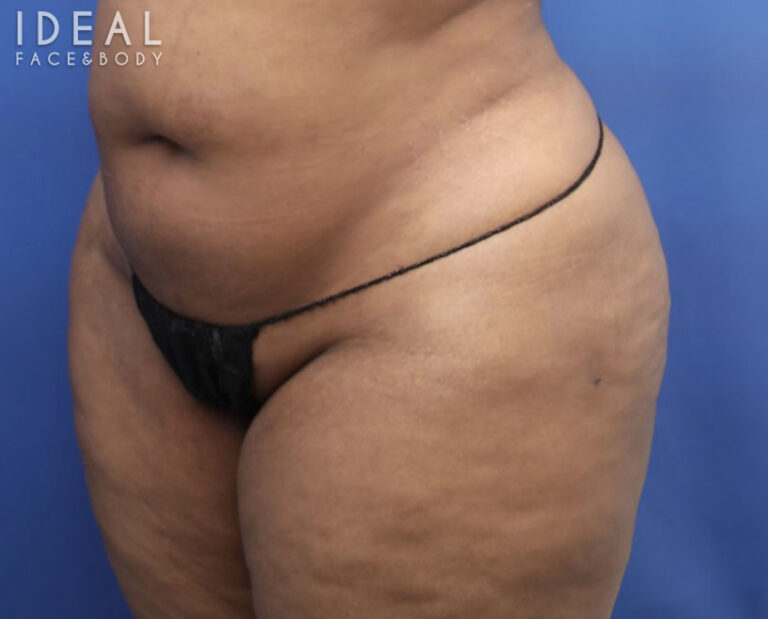
Before & 3 months after Awake BBL Reduction (aka BBR)
View Angle: front

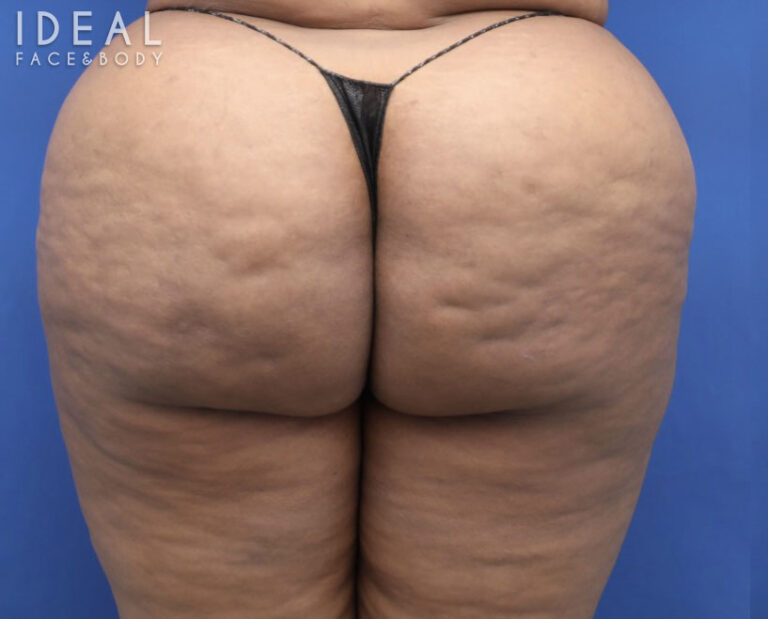
Before

After
View Angle: right-side
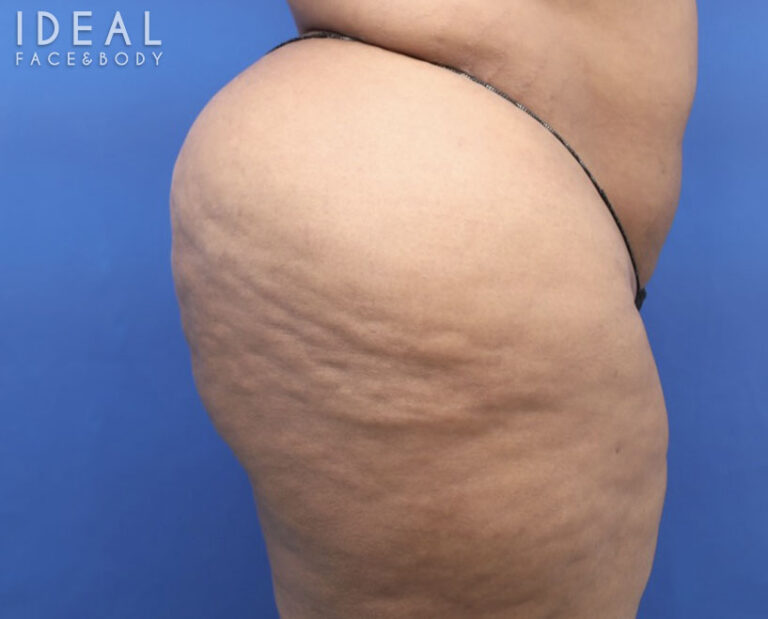
Before
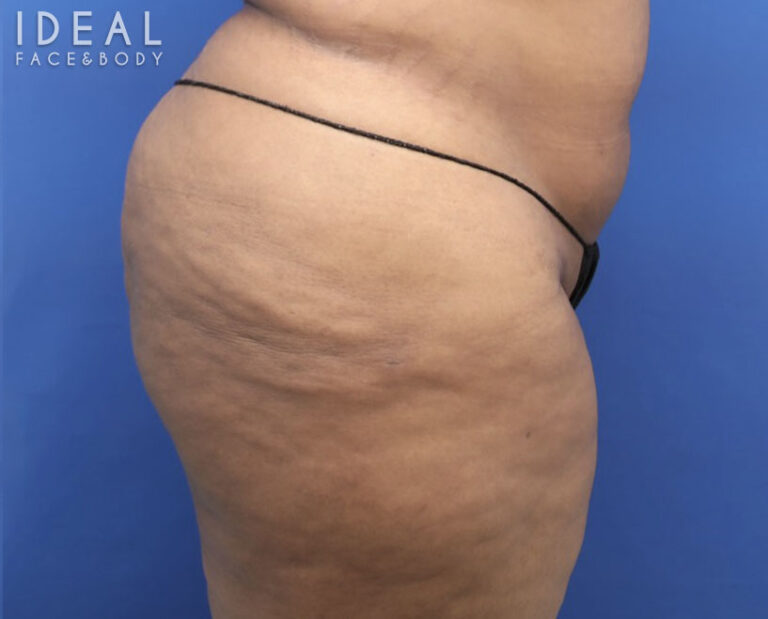
After
View Angle: right-back-oblique

Before
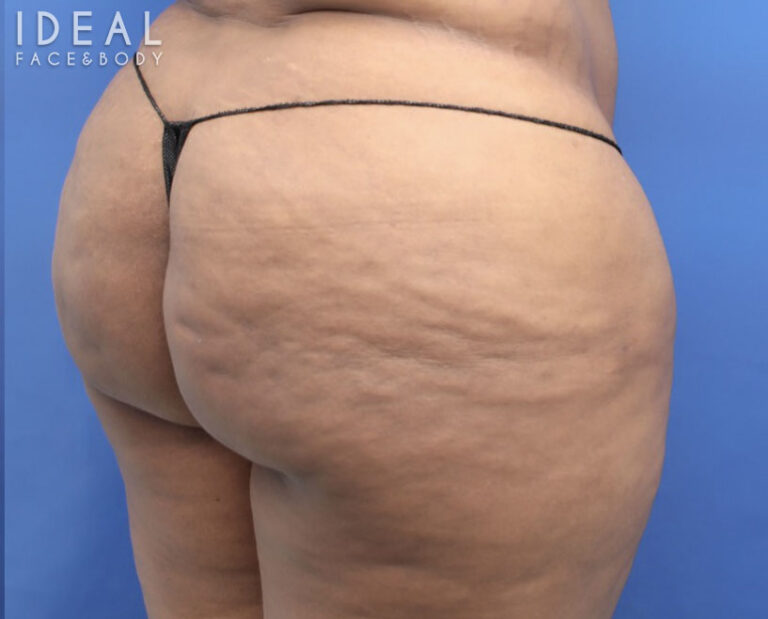
After
View Angle: left-front-oblique
Before
After